

DIY window tinting can seem like a simple way to change the appearance and comfort of a vehicle, but applying film correctly requires careful preparation and installation. Comparing DIY window tinting with professional installation can help you understand the differences before deciding how to approach the project.
This article covers the important factors that can affect window tint quality, appearance, and long-term performance.
DIY Window Tinting vs Professional Window Tinting
Installing window tint involves applying a thin film to the inside surface of automotive glass. The film needs to be properly sized, positioned, and secured while keeping dust, debris, air, and excess moisture from becoming trapped underneath it.
DIY window tinting allows a vehicle owner to perform this process using tint film and basic installation tools. Professional installation follows the same basic concept, but the work is completed by an installer with experience handling different glass shapes, film types, and vehicle designs.
The difficulty can vary significantly from one vehicle to another. A relatively flat side window may be easier to work with than a large curved rear window or windshield.
The main difference between DIY and professional window tinting is not simply who applies the film, but the experience, preparation, tools, and installation environment involved in the process.
Understanding these differences can help explain why two installations using similar film may produce very different finished results.
How Automotive Window Tint Is Installed
Window tint installation begins with preparing the glass. Dirt, oils, dust, adhesive residue, and other contamination need to be removed because even small particles can become noticeable underneath the film.
The tint film is then sized for the window and positioned against the glass. Depending on the window shape, the material may also need to be formed so it follows curved glass correctly.
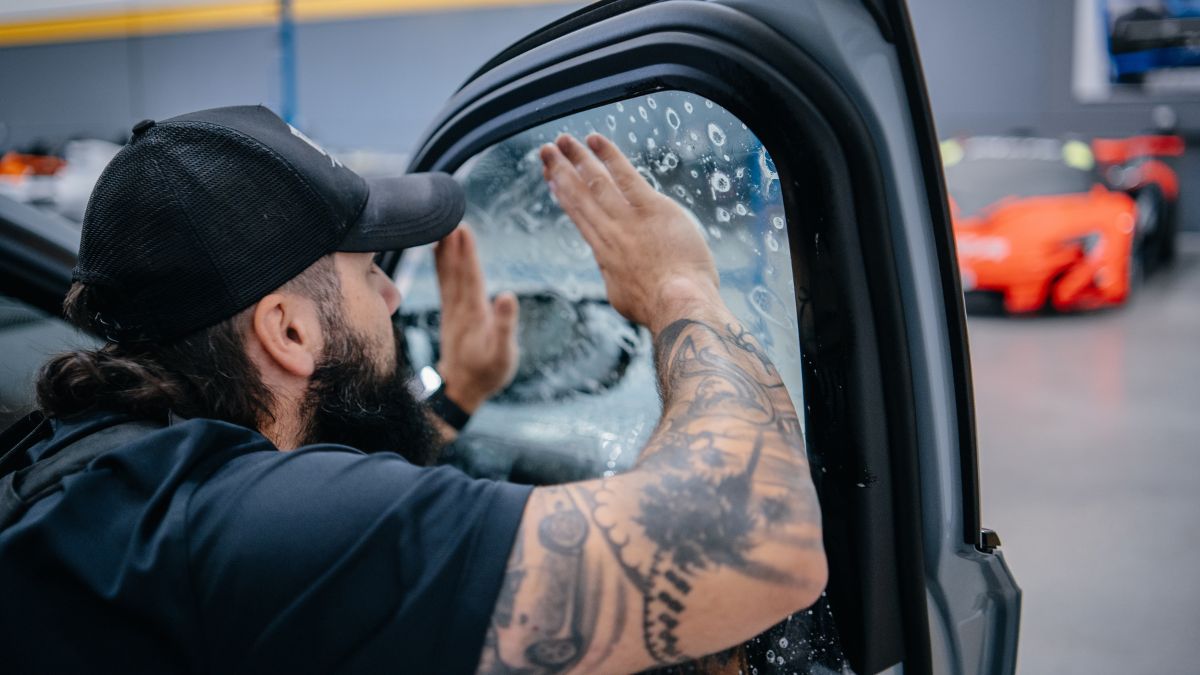
An installation solution allows the film to be moved into position before the adhesive settles. Once aligned, the installer gradually pushes moisture and air toward the edges while securing the film against the glass.
Clean glass and accurate film positioning are important because problems underneath the tint can remain visible after the material has dried.
The film then needs time to cure. Some moisture or temporary haziness may remain visible during this period before the tint reaches its finished appearance.
Why Glass Preparation Matters Before Tinting
Proper preparation can have a major effect on the appearance of window tint. Automotive glass may look clean while still having small particles, oils, residue, or contamination that can interfere with installation.
The inside edges of the window also need attention. Dirt trapped near seals and trim can move onto freshly cleaned glass while the film is being positioned.
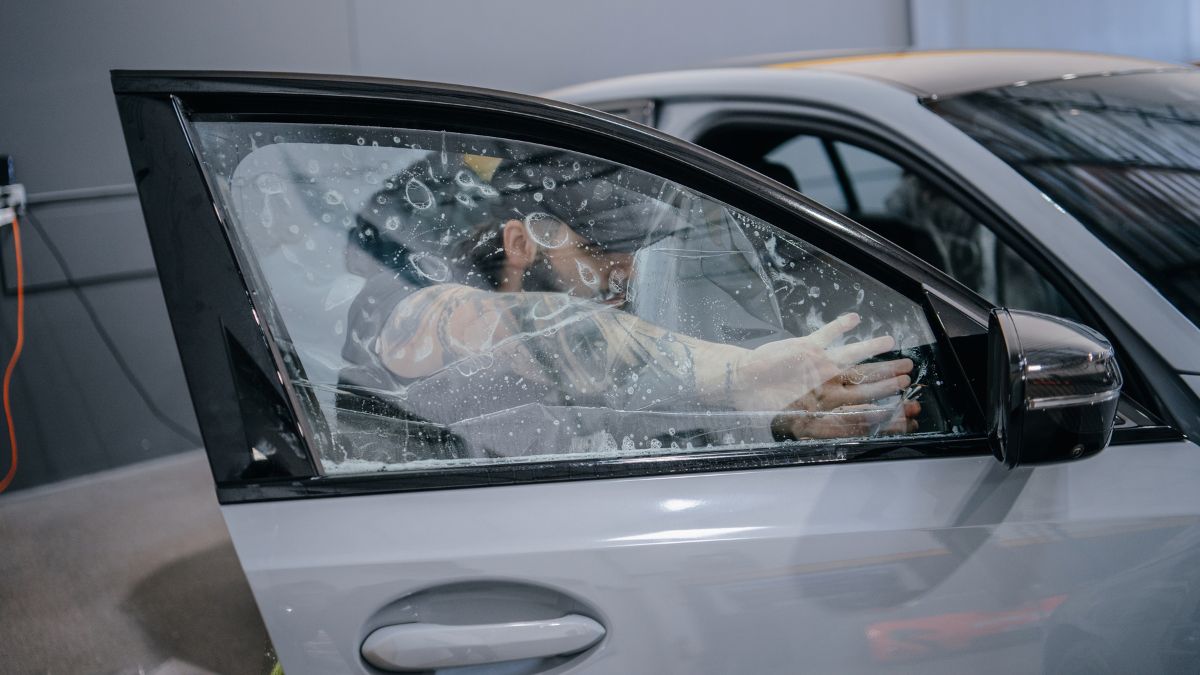
This can be especially challenging during a DIY installation performed outdoors or in an area with moving air and dust. Once contamination becomes trapped between the film and glass, correcting it may require lifting or replacing part of the film.
Window tint should be installed on thoroughly prepared glass because contamination underneath the film can affect both appearance and adhesion.
A controlled installation environment can make it easier to keep the glass and film clean throughout the application process.
Common Problems With DIY Window Tinting
Many DIY tint problems happen during positioning and application. Air bubbles, trapped debris, wrinkles, creases, uneven edges, and incorrect sizing can become noticeable after installation.
Film can also become damaged while it is being handled. Folding or creasing the material may leave a permanent mark that cannot simply be smoothed away later.
Another challenge is keeping the film clean. The adhesive side can attract dust and debris quickly once its protective liner has been removed.
Small installation mistakes can become difficult to correct once the adhesive begins settling against the glass.
This does not mean every small visual change immediately after installation is a defect. Some moisture can remain while window tint cures, so it is important to distinguish normal curing from trapped contamination or damaged film.
Why Curved Windows Can Be More Difficult to Tint
Not every automotive window is flat. Rear glass, windshields, and some side windows have curves that require the tint film to conform to the shape of the glass.
Film placed directly against a curved surface may not naturally sit flat. Proper forming allows the material to follow the glass without leaving large fingers, wrinkles, or areas of excess material.
The size of the glass also increases the difficulty. Handling a large sheet of film while keeping it clean and properly aligned can be challenging without experience.
Curved automotive glass requires additional film control because the material needs to match the shape of the window before it can sit smoothly against the surface.
These challenges become more noticeable when working with large areas such as windshield tint, where clear visibility and consistent film placement are especially important.
How Film Quality Affects Window Tint Performance
Installation quality is important, but the type of window film also affects the finished result. Automotive films can differ in heat rejection, clarity, UV protection, color stability, construction, and available tint percentages.
This means two films with a similar visible darkness can perform differently. Choosing a darker shade does not automatically mean the film will provide better heat rejection.
Film technology should therefore be considered separately from tint percentage. Drivers concerned about cabin heat may place more importance on film performance than simply choosing the darkest available shade.
Ceramic window tint uses ceramic film technology designed to provide heat rejection while maintaining optical clarity.
The performance of window tint depends on the film technology as well as the quality of the installation.
Understanding this difference can prevent tint darkness from being used as the only measure of film quality.
Does Darker DIY Tint Provide Better Heat Protection?
It is easy to assume that a very dark tint will automatically keep a vehicle cooler. However, visible light transmission and heat rejection measure different characteristics of window film.
Visible light transmission describes how much visible light passes through the film and glass. A lower percentage produces a darker appearance because less visible light passes through.
Heat rejection depends more heavily on the construction and technology of the film. A lighter high-performance film may therefore provide stronger heat control than a darker film with lower heat rejection.
Tint darkness should not be used by itself to determine how well a window film can manage heat.
Understanding how tint darkness affects heat protection can make it easier to compare films based on performance rather than appearance alone.
Choosing the Correct Window Tint Percentage
Tint percentage affects how much visible light passes through the window. Lower percentages are darker, while higher percentages allow more visible light through.
Choosing a percentage involves more than deciding how the vehicle should look from outside. Night visibility, existing factory glass, window location, driving habits, and applicable tint laws should also be considered.
Factory privacy glass can make this decision more complicated. Adding film to glass that is already dark can produce a different finished visible light transmission than applying the same film to clear glass.
The final tint percentage should account for the existing glass and the amount of visible light that will pass through after installation.
Drivers comparing different shades can also review how to choose the best window tint percentage before selecting film for different areas of the vehicle.
Why Front Side Windows Need Careful Tint Selection
The front side windows are important viewing areas for the driver. They are used when checking mirrors, watching nearby traffic, making turns, and looking for pedestrians or other obstacles.
A very dark film can affect how easily objects are seen through the glass when outside lighting is limited. This can become more noticeable at night or in poorly lit parking areas.
The existing rear glass can also influence the desired appearance. Trucks and SUVs commonly have darker factory glass behind the front seats, which can make the untreated front windows look noticeably lighter.
Front two windows tint can use an appropriate film and shade based on visibility, existing rear glass, and applicable tint requirements.
Front window tint should balance appearance and privacy with the driver’s need to see clearly through the glass.
This makes selecting the appropriate shade just as important as achieving a clean installation.
How DIY and Professional Tint Differ for a Full Vehicle
Tinting one or two relatively simple windows is different from installing film across an entire vehicle. Each window can have a different size, curve, shape, and surrounding trim.
A full vehicle installation also requires consistency. Film edges, shade, clarity, and appearance should work together across several pieces of glass.
DIY installation may require working through each window separately while learning how the film responds to different shapes. Mistakes can also require additional material if a piece needs to be removed and replaced.
The difficulty of window tint installation increases when several different pieces of automotive glass need to be completed consistently.
With full vehicle window tint, multiple windows are treated as part of the same installation, making consistent preparation and film placement important throughout the vehicle.
How Long Window Tint Needs to Cure
Window tint does not always reach its final appearance immediately after installation. Moisture used during application can remain between the film and glass while the adhesive begins to settle.
Temporary haziness or small areas of moisture can sometimes be visible during this stage. These conditions may gradually disappear as the film cures.
Temperature, humidity, film type, and other environmental conditions can affect how quickly this happens. The windows should generally be left undisturbed according to the care instructions provided for the film.
Freshly installed tint needs time to cure before its final appearance can be properly evaluated.
Rolling windows down too soon can also disturb film near the upper edge before the adhesive has fully settled.
DIY Window Tinting vs Professional Installation Quality
The finished quality of any tint installation depends on preparation, film handling, accurate sizing, glass shape, application technique, and curing. Professional experience can make these steps more consistent, especially on difficult windows.
DIY tinting gives vehicle owners direct control over the project, but it also requires learning how to handle thin adhesive film without introducing contamination, wrinkles, or alignment problems.
Professional installation does not change the basic way window film works. The difference is that an experienced installer regularly works with automotive glass and understands how to adjust the process for different window shapes and film types.
Choosing between DIY and professional window tinting ultimately depends on your experience, expectations, available workspace, and willingness to correct mistakes if the first installation does not go as planned.
For someone comfortable working with automotive film, a DIY project may provide useful hands-on experience.
For drivers focused primarily on consistent fitment, clean edges, clarity, and predictable results, understanding the complexity of the installation can help determine which approach makes the most sense.